
Quick Summary: The definitive methodology for professional site decontamination is a four-stage lifecycle: Assess, Contain, Clean, and Verify. This systematic approach, especially critical for issues like methamphetamine contamination, involves detailed site investigation, creating a Remediation Action Plan (RAP), using engineering controls and correct PPE, and concluding with independent third-party verification to guarantee regulatory compliance and safety.
Professional site decontamination is a meticulous, multi-stage process. It’s not just about cleaning; it’s a systematic approach that involves assessment, risk analysis, containment, targeted remediation, and rigorous verification. The end goal is to safely restore a site, protecting workers and ensuring everything is up to Australian regulatory standards. This is the non-negotiable process for any industrial, manufacturing, or commercial site dealing with hazardous materials, particularly prevalent with the rise of methamphetamine contamination.
Understanding The Site Decontamination Lifecycle
Successfully decontaminating a site means following a structured, scientific process often called the remediation lifecycle. This isn’t just a surface-level clean. It’s about digging into the root cause of the contamination to deliver a safe, lasting, and compliant solution. For any industry in Australia—from mining operations to manufacturing plants—adopting this professional methodology isn’t just a good idea; it’s a legal and ethical requirement.
The first and most critical step is getting a handle on the risks involved. Before any work begins, you need a deep understanding of the potential hazards on site. Frameworks like the EMKG: A Practical Guide to Systematic Chemical Risk Assessment are incredibly useful here, providing a systematic way to identify and control chemical exposures right from the get-go.
This lifecycle breaks down into four core stages, moving logically from assessment to final verification.
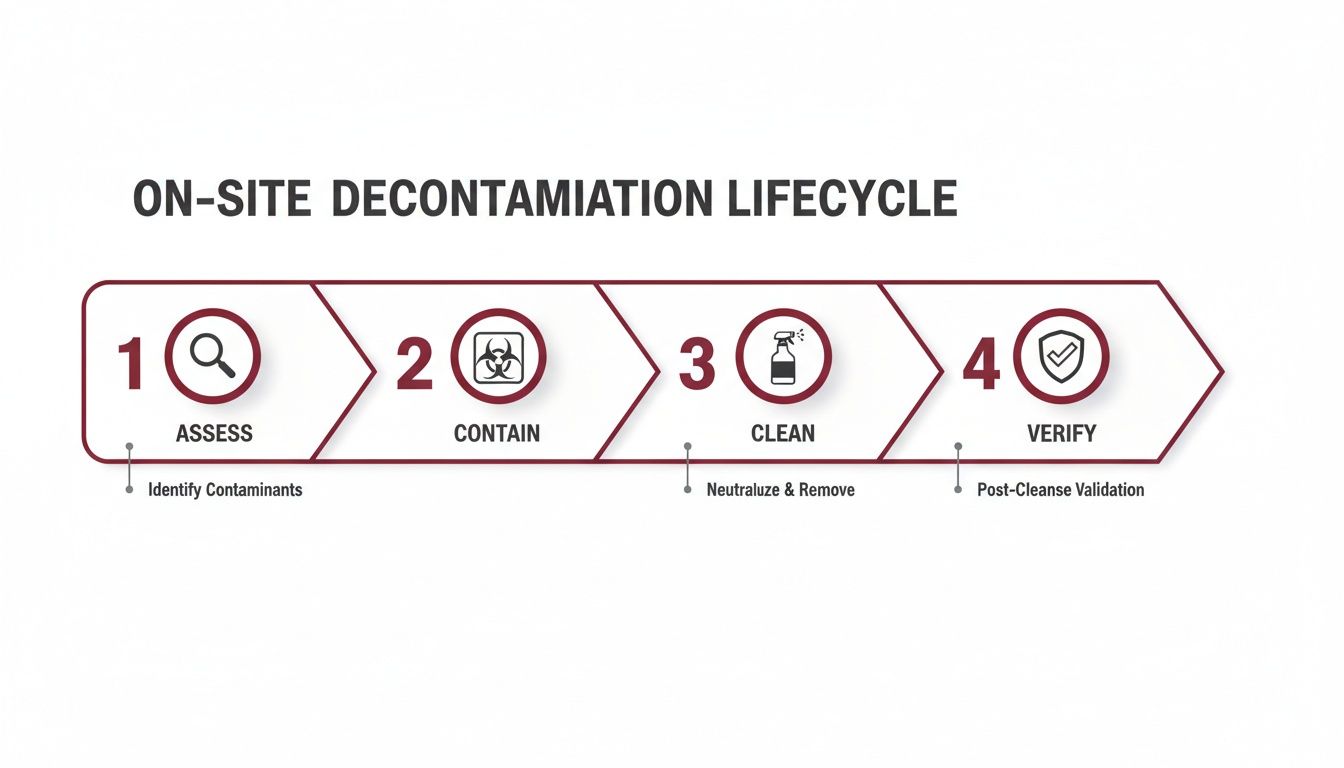
As you can see, successful remediation is a structured process. Each step builds on the last, which is crucial for preventing oversights and ensuring a thorough job.
To give you a clearer picture, here’s a breakdown of what happens in each phase of a professional site decontamination project.
| Phase | Objective | Key Activities |
|---|---|---|
| Initial Assessment | To identify the nature, extent, and location of all contaminants. | Site surveys, historical data review, preliminary sampling, hazard identification. |
| Planning & Risk Analysis | To develop a safe and effective Remediation Action Plan (RAP). | Hazard evaluation, exposure pathway analysis, selecting decontamination methods, developing safety protocols. |
| Containment & Remediation | To safely remove or neutralise contaminants and prevent cross-contamination. | Setting up engineering controls (e.g., negative air pressure), applying chemical agents, physical removal, waste disposal. |
| Verification & Validation | To confirm the site meets regulatory clearance levels and is safe for re-occupancy. | Post-remediation sampling by an independent hygienist, laboratory analysis, final reporting and documentation. |
This table summarises the journey from a contaminated site to a fully compliant and safe environment, highlighting how each stage is distinct yet interconnected.
The Growing Need for Professional Decontamination
The demand for professional decontamination services has surged, especially with the rise of specific, high-risk contaminants. In Australia, for instance, methamphetamine contamination is a significant problem. As meth use has increased, the need for remediation has climbed sharply. Shockingly, 54% of tested houses are found to exceed the national safety threshold of 0.5ug/100cm², which means a full-scale cleanup is mandatory to make the property safe again.
A truly definitive methodology is proactive, not reactive. It anticipates risks, establishes clear control measures, and relies on empirical data to validate success, ensuring that once a site is declared clean, it is unequivocally safe for re-entry and operation.
Boiling it down, the lifecycle of any professional decontamination operation rests on these core activities:
- Initial Site Assessment: A deep dive to figure out what you’re dealing with—the type of contaminant, how far it has spread, and where it’s located.
- Risk Analysis and Planning: Evaluating all potential health, safety, and environmental risks to create a tailored Remediation Action Plan (RAP).
- Containment and Control: Using engineering controls like negative air pressure units to isolate the work area and stop contaminants from spreading.
- Decontamination and Remediation: Getting the job done with specialised agents and techniques suited to the specific hazard.
- Verification and Validation: Bringing in an independent third party to conduct post-remediation testing and confirm the site meets all regulatory clearance levels.
Mapping The Contamination Footprint
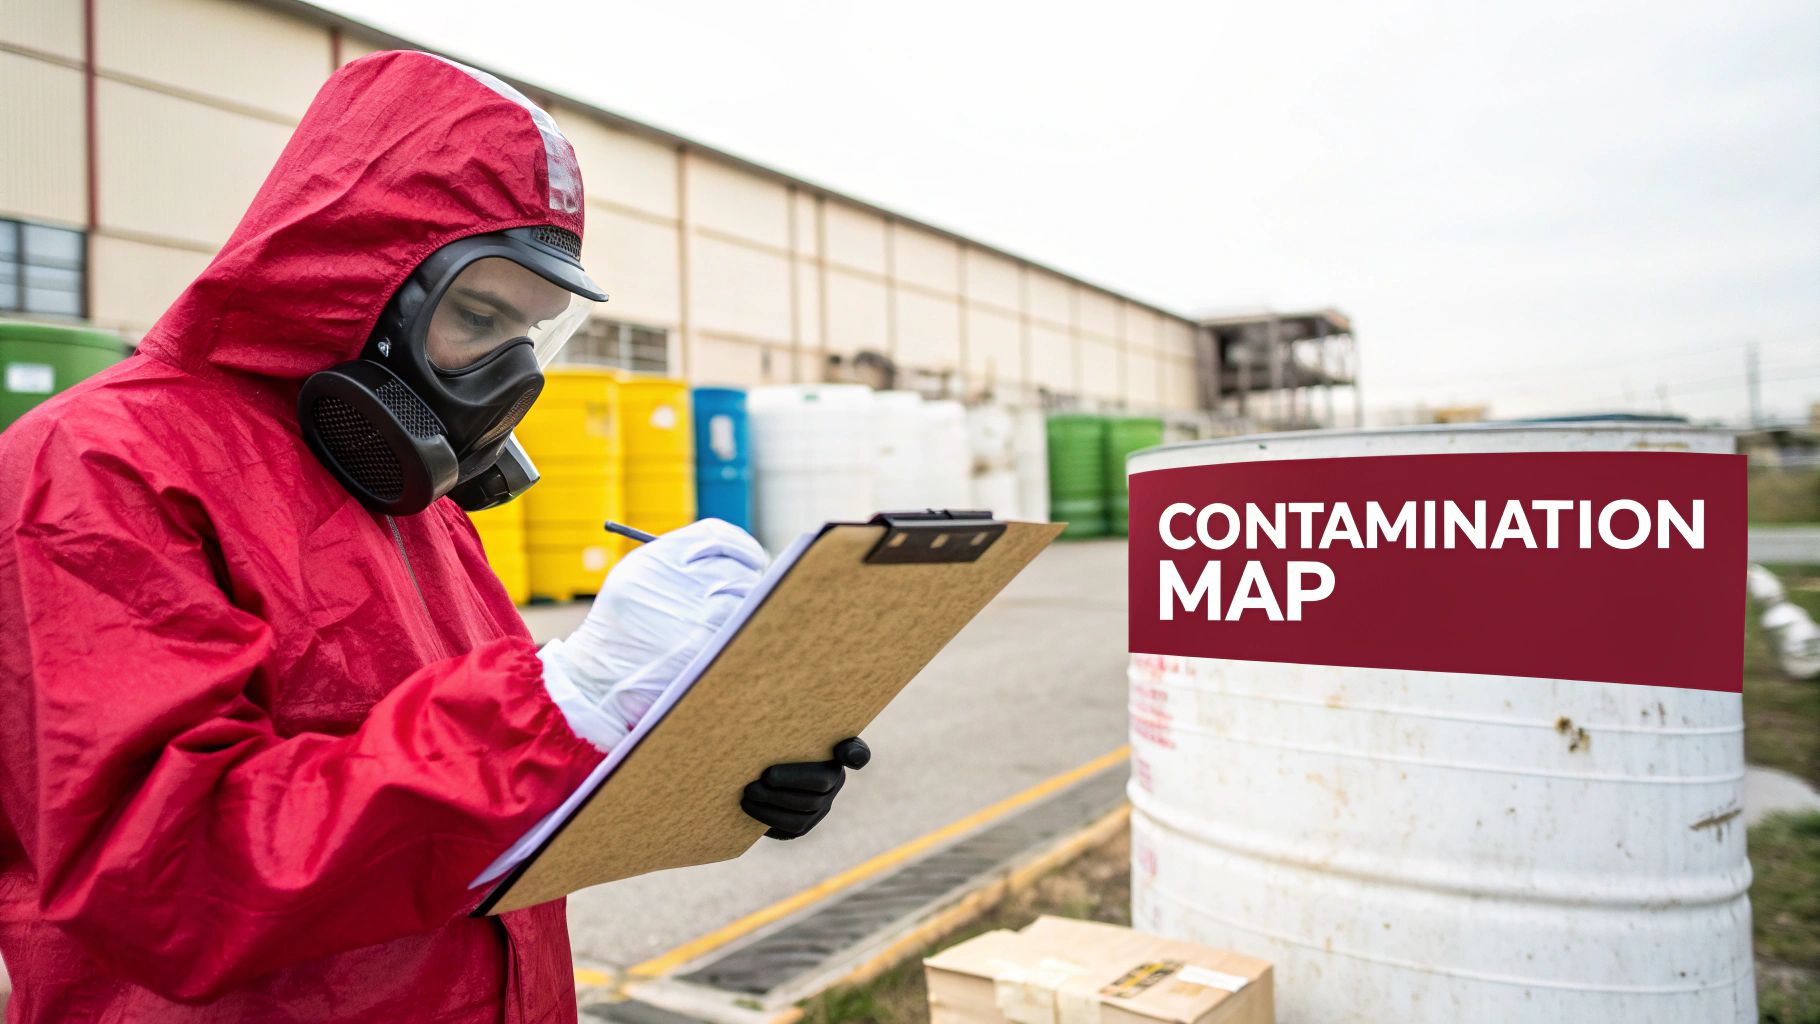
Before you even think about cleaning, you need to know exactly what you’re up against. You simply can’t fix a problem you haven’t fully defined. This is where contamination mapping comes in—it’s the critical first step that lays the scientific groundwork for the entire decontamination project.
Getting this right from the start prevents costly mistakes down the line and, most importantly, ensures no hidden hazards are left behind. This isn’t just about a quick look around; it’s a systematic investigation to figure out the type of contaminant, how concentrated it is, and exactly where it’s spread across the site.
Preliminary and Detailed Site Investigations
We usually break this down into two key phases. First up is the Preliminary Site Assessment (PSA). Think of it as a reconnaissance mission. We review the site’s history—what was stored here, what processes happened—and talk to people who worked there. Then, we do a thorough walk-through to flag any potential hotspots.
For instance, at an old manufacturing plant, a PSA would immediately zero in on areas like chemical storage lockers, machinery pits, and old waste disposal sites as high-priority zones.
If the PSA rings any alarm bells, we move on to a Detailed Site Investigation (DSI). This is the real deep dive. Certified occupational hygienists get hands-on, collecting physical samples from all the suspect areas. The data from these samples allows us to build a comprehensive contamination map, which becomes the blueprint for the entire cleanup operation.
Expert Tip: Always bring in an accredited, independent consultant for the DSI. It’s non-negotiable. This prevents any conflict of interest and guarantees the sampling data is objective and scientifically sound—something that’s absolutely critical for meeting regulatory standards and keeping workers safe.
Advanced Sampling and Analytical Techniques
Building an accurate contamination map means using specialised sampling techniques. The right method depends entirely on the environment and the type of contaminant we suspect is present. Each technique gives us another piece of the puzzle.
Here are a few of the go-to methods:
- Surface Swab Sampling: This is our bread and butter for checking non-porous surfaces like benchtops, equipment, and floors. A sterile swab is wiped over a specific area (usually 100cm²), then it’s off to the lab to measure the contaminant levels.
- Air Quality Monitoring: When dealing with airborne threats like asbestos fibres or chemical vapours, we use air pumps to pull a measured volume of air through a filter. That filter is then analysed to find out exactly what’s floating in the breathing zone.
- Soil and Water Sampling: If there’s been a spill on the ground, say from a leaky fuel tank, we take core samples of the soil at different depths and distances from the source. We might also sample water from nearby drains to see if the contamination has started to leach.
Real-World Application: Hydrocarbon Contamination
Let’s walk through a common scenario. Imagine a routine check at a mining site finds a diesel storage tank with a slow leak. The PSA immediately flags the ground around it as a potential contamination zone.
For the DSI, a grid pattern is laid out around the tank. Soil samples are then collected at multiple points on this grid and at various depths—for example, at 15cm, 30cm, and 60cm. These samples head to an accredited lab to be tested for total petroleum hydrocarbons (TPH).
The results come back and give us a detailed map. It clearly shows a “hot spot” with high contamination right next to the tank, and the levels drop off the further away we get. This precise data is gold. Instead of excavating a huge, expensive pit of soil, the remediation team can target their efforts with surgical precision. They remove only the contaminated soil, saving a massive amount of time and money on disposal while still guaranteeing a thorough, verifiable cleanup.
Building a Remediation Action Plan
Once you’ve got a detailed contamination map, the job shifts from investigation to strategy. This is where you roll up your sleeves and develop a Remediation Action Plan (RAP)—a meticulous, site-specific blueprint that lays out exactly how the decontamination will be done, safely and effectively. This plan is the absolute core of any professional decontamination project; it makes sure every move is deliberate, justified, and gets the job done right.
A solid RAP is never a copy-paste job. It’s a custom-built strategy that has to account for all the unique variables on site. You need to consider the specific contaminant, the types of surfaces it’s on (think porous concrete versus non-porous stainless steel), and the environment you’re working in. The approach for a sterile pharmaceutical lab will be worlds away from a rugged construction site.
This entire planning stage is anchored by strict national standards to ensure the work is technically sound and compliant. Here in Australia, the National Remediation Framework (NRF) is a key touchstone. It was launched by the Cooperative Research Centre for Contamination Assessment and Remediation to create technical consistency across all industries, from pharma to mining. It sets a high bar for professional practice, whether you’re cleaning up contaminated land at a manufacturing hub or a remote mining operation. You can learn more about Australia’s comprehensive approach to site remediation to get a feel for the regulatory landscape.
Selecting the Right Decontamination Agents
Choosing the right decontamination agent isn’t a guess—it’s applied science. The decision hinges entirely on the contaminant’s chemical properties and the materials it has seeped into. Getting this wrong can be ineffective at best and outright dangerous at worst. The last thing you want is to create a hazardous by-product or ruin expensive equipment.
- Chemical Neutralisers: These are your go-to for reactive chemical spills. For instance, an acid spill needs a basic (alkaline) neutraliser to bring its pH to neutral, making it safe to handle and dispose of.
- Biocides and Disinfectants: When you’re dealing with biological threats like a mould outbreak or bacterial contamination in a food processing plant, you need specific biocides. The goal is to eliminate the microbes without leaving behind any harmful residues.
- Oxidising Agents: For really stubborn organic compounds, like the residue left behind in a meth lab, you bring out the heavy hitters. Powerful oxidising agents chemically dismantle these complex structures, breaking them down into harmless basics like carbon dioxide and water.
A critical part of the RAP isn’t just deciding what agent to use, but confirming its compatibility with the site’s surfaces. An agent that perfectly neutralises a chemical but corrodes the stainless steel in a pharmaceutical cleanroom is obviously not a workable solution.
Choosing Appropriate Decontamination Techniques
Along with the “what” (the agent), the RAP has to detail the “how” (the physical techniques for removal). The method you choose has to get the contaminant out without kicking it up into the air or spreading it around.
Common Remediation Techniques
| Technique | Description | Best Suited For |
|---|---|---|
| HEPA Vacuuming | High-Efficiency Particulate Air (HEPA) vacuums are designed to capture microscopic nasties like lead dust or asbestos fibres without letting them escape back into the air. | Particulate contamination on surfaces and for the initial cleanup of any loose debris. |
| Chemical Washing/Wiping | This involves physically applying your chosen chemical agent to contaminated surfaces, then rinsing or wiping it off to remove both the agent and the neutralised contaminant. | Non-porous surfaces like metal equipment, benchtops, and sealed concrete floors. |
| Abrasive Blasting | Methods like soda or dry-ice blasting use a medium to literally strip contaminants from a surface. It’s highly effective but demands a contained environment to control the dust. | Porous surfaces like brick or unsealed concrete where contaminants have soaked in. |
| Thermal Desorption | This technique involves heating contaminated material (like soil) until the contaminants vaporise. The vapours are then collected and treated separately. | Soil and sludge contaminated with volatile organic compounds (VOCs) or hydrocarbons. |
Each technique is picked based on how well it works for the specific contaminant and the surface it’s on. A truly comprehensive RAP often outlines a multi-step process—for example, starting with a thorough HEPA vacuuming before moving on to a chemical wash to ensure a verifiable, deep clean.
Executing a Safe and Contained Cleanup
Once your Remediation Action Plan (RAP) is locked in, it’s time to move from paper to practice. This is the crucial stage where strategy becomes action, and every step is about eliminating the hazard without creating new ones for the team or the surrounding area. It’s a game of precision and absolute control.
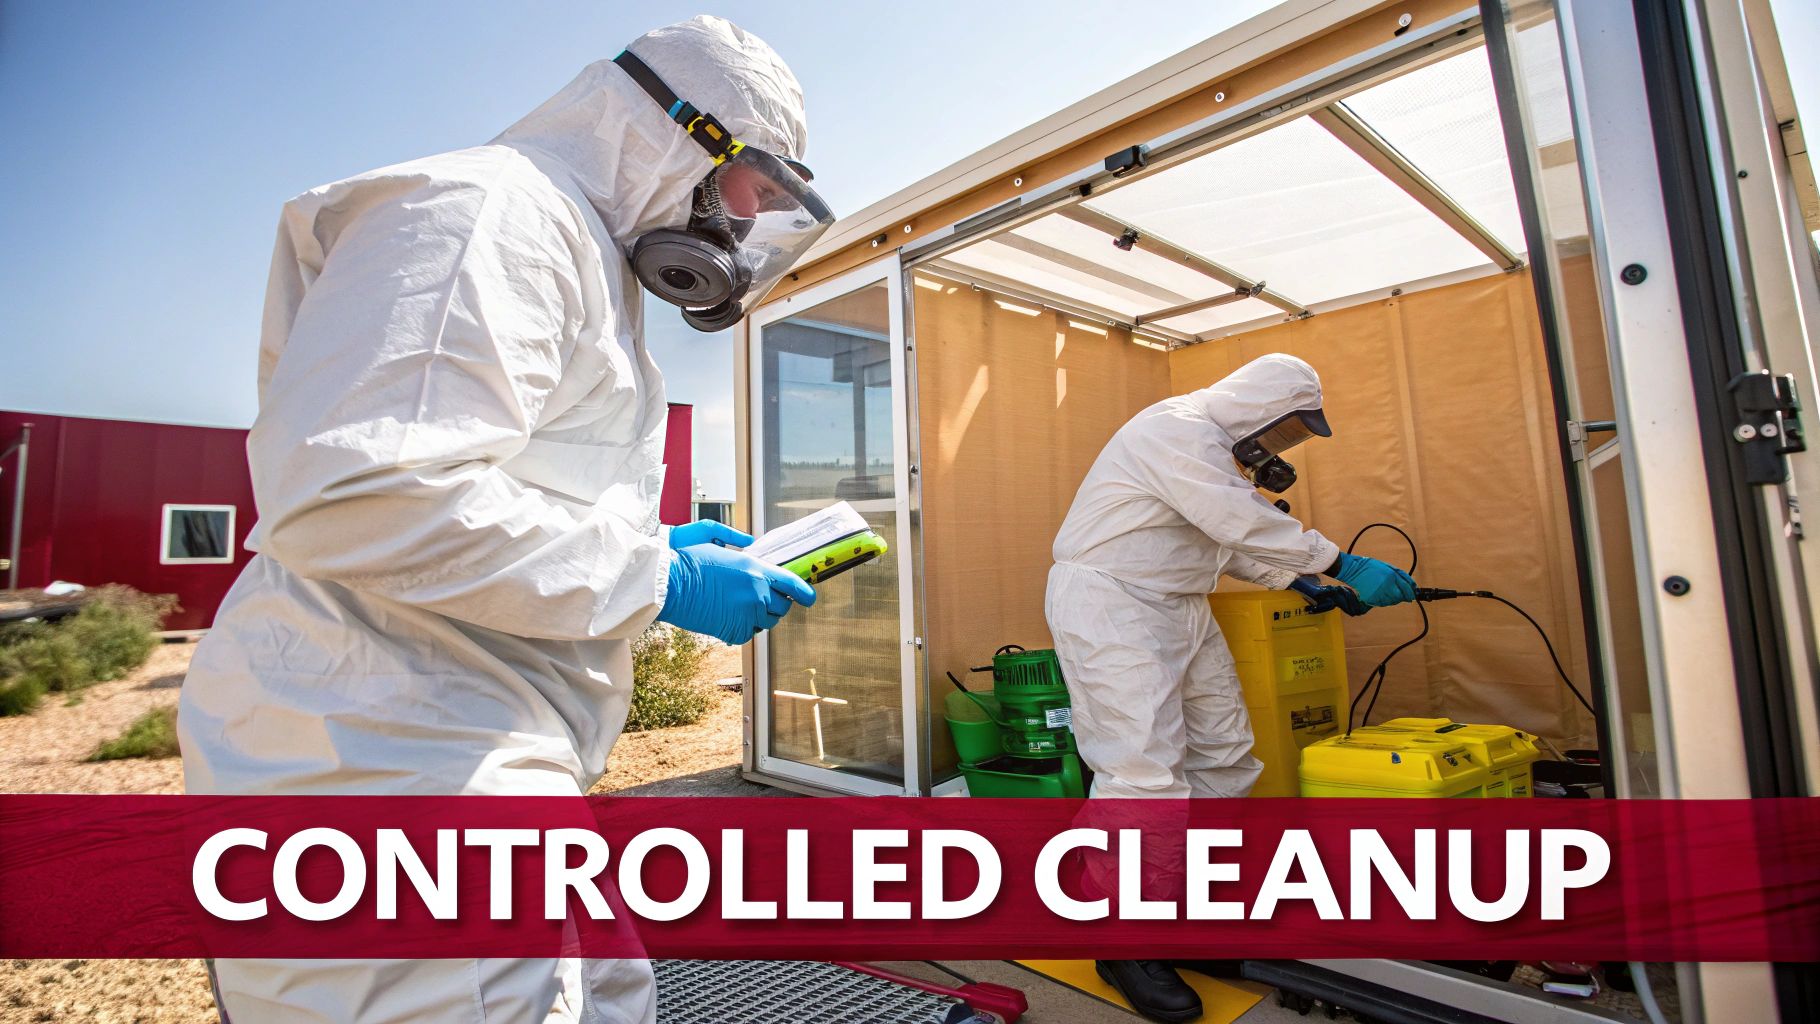
The very first job on-site is to establish a rock-solid, controlled work zone. We’re talking about more than just some warning tape; this is about creating a completely sealed environment to stop cross-contamination in its tracks. For indoor jobs, this usually means building a full enclosure around the affected area.
Establishing Engineering Controls
To keep contaminants locked down, we rely on smart engineering controls. The workhorse of any serious decontamination project is the negative air pressure enclosure. By using high-powered air filtration devices, often called air scrubbers, we exhaust more air from the contained area than we allow in.
This simple bit of physics creates a vacuum effect. Any airborne particles—whether they’re methamphetamine residues, stubborn mould spores, or fine chemical dust—are pulled directly into advanced HEPA filters instead of drifting into clean parts of the building. We also build airlocks and decontamination chambers for our team and equipment, creating essential buffer zones between the ‘hot zone’ and the outside world.
The whole point of containment is to make it absolute. A properly built enclosure means that if a microscopic particle gets kicked up inside, physics prevents it from escaping. It’s the foundation of every safe remediation job.
The Critical Role of Personal Protective Equipment
Nothing is more important than protecting the remediation team. The specific Personal Protective Equipment (PPE) we use is dictated entirely by the risks we found during the initial site assessment. This is never a one-size-fits-all situation; the gear has to be perfectly matched to the hazard.
- Respiratory Protection: For chemical vapours or airborne particles, our team might need anything from a half-face respirator with specialised cartridges all the way up to a full-face Self-Contained Breathing Apparatus (SCBA) for spaces with low oxygen.
- Chemical-Resistant Suits: These can range from disposable coveralls for lighter contaminants to fully encapsulated suits that protect against aggressive or toxic substances that can be absorbed through the skin.
- Gloves and Footwear: The right glove material, like nitrile or butyl rubber, is chosen for its ability to stand up to the specific chemicals we’re handling. Steel-toed, chemical-resistant boots are standard issue, protecting against both physical and chemical threats.
When you’re dealing with particularly dangerous materials, specialized trauma and biohazard cleanup protocols really highlight just how strict these requirements for safety and containment must be. These are extreme examples, but they drive home why a professional methodology, including the correct PPE, is non-negotiable.
Worker Training and Safety Protocols
The best gear in the world is useless if you don’t know how to use it properly. It’s a sobering thought, but many workers handling hazardous materials simply don’t have the training they need. A national survey from Safe Work Australia revealed that while 37% of workers reported being exposed to chemicals, only 61% had received any safety training from their employer. Temporary workers in smaller businesses were found to be the most at-risk. If you’re interested, you can read the full chemicals report for a deeper dive into the findings.
A professional approach closes this dangerous gap with mandatory, continuous training. Our technicians are drilled on:
- Recognising and communicating hazards on site.
- The correct way to put on and take off PPE to avoid contaminating themselves.
- Emergency drills, from spill control to first aid.
- Proper handling and disposal of hazardous waste.
This isn’t just a box-ticking exercise. This level of training turns the RAP from a document into a living, breathing safety culture on site, protecting every single person involved.
Verifying Success and Ensuring Compliance
A decontamination job isn’t finished just because the cleaning has stopped. In fact, some of the most critical work begins right after the physical cleanup ends. A professional decontamination methodology demands absolute, undeniable proof that a site is safe, and that comes down to rigorous verification and meticulous documentation.
This final stage is what closes out the remediation lifecycle. It’s the difference between a site that’s been “cleaned” and one that’s “certified safe.” This is where you get the legal and scientific assurance for workers, management, and regulatory bodies that all health and safety standards have been met. Without it, the project is basically incomplete and leaves everyone exposed to liability.
The Role of Post-Remediation Verification
The cornerstone of this whole phase is Post-Remediation Verification (PRV). This isn’t something the remediation crew does themselves; it must be carried out by an independent, third-party occupational hygienist. Keeping these roles separate is non-negotiable—it eliminates any conflict of interest and guarantees the results are unbiased and scientifically robust.
The hygienist comes back to the site to re-test the areas that were previously contaminated. They use the exact same stringent sampling techniques from the initial investigation, whether that’s surface swabs, air quality monitoring, or soil samples, depending on the contaminant we were dealing with. These new samples are then sent off to an accredited lab for analysis.
The objective is simple: confirm that contaminant levels are now well below the safe thresholds established by Australian regulatory standards. If even a single sample comes back over the limit, the job isn’t done. That specific area needs further remediation, followed by another round of PRV testing until it passes.
Creating an Auditable Final Report
Once every sample gets the all-clear, the hygienist puts together a comprehensive final report. This document is far more than just a piece of paper; it’s the official record and legal proof that the site has been successfully decontaminated. It creates an auditable trail of due diligence that is absolutely essential for compliance and liability protection.
A proper final report will always contain:
- Initial Assessment Findings: A clear summary of the original contamination map and hazard levels.
- Remediation Action Plan (RAP) Details: An outline of the specific methods and agents used during the cleanup.
- Verification Sampling Data: The detailed laboratory results from the PRV, showing contaminant levels are below the clearance criteria.
- A Statement of Clearance: A formal declaration from the independent hygienist that the area is safe for re-occupancy and normal use.
This final report is your shield. It proves to regulators like Safe Work Australia and the Environmental Protection Authority (EPA) that a scientific, verifiable process was followed from start to finish, officially closing the loop on the project.
Managing Waste and Final Compliance
The last piece of the compliance puzzle is handling all the hazardous waste generated during the cleanup. Every single bit of it—from used PPE and cleaning supplies to contaminated soil and debris—has to be managed and disposed of according to strict state and federal environmental regulations.
Here’s how that process breaks down:
- Segregation and Containment: Waste is carefully sorted and sealed in approved, clearly labelled containers. This is crucial to stop any secondary contamination while it’s being transported.
- Licensed Transport: A certified hazardous waste transport company is brought in to move the materials off-site.
- Approved Disposal Facility: The waste is then taken to a licensed facility that is properly equipped to handle and process that specific type of contaminant.
- Documentation: Chain of custody forms and waste transport certificates are meticulously filled out and kept on file, providing solid proof of proper disposal.
Getting this waste stream managed correctly is the final operational step. It ensures the project’s impact is fully contained and no environmental harm is left behind. This is what truly finalises the site decontamination, delivering a worksite that is not just clean, but completely compliant.
Common Questions About Site Decontamination
When you’re facing a site contamination issue, a flood of questions is completely normal. Whether you’re in manufacturing, pharmaceuticals, or mining, you need practical answers. You’ve read the methodology, but how does it actually apply to your situation on the ground?
Let’s tackle some of the most common queries I hear from clients.
The goal here is to cut through the jargon and give you the straightforward information needed to make smart decisions when things get complicated. We’ll cover everything from timelines and costs to why calling in the pros is non-negotiable.
How Long Does Site Decontamination Usually Take?
This is almost always the first question, and the honest answer is: it depends entirely on the situation. There’s no one-size-fits-all timeline because every contamination event is unique.
A few key factors will dictate the project’s length:
- Type and Extent of Contamination: A small patch of surface-level meth residue in a well-contained room might be sorted in a couple of days. On the other hand, tackling extensive soil or groundwater contamination at a large industrial site could easily take weeks, or even months, of intensive work.
- Size of the Affected Area: Obviously, cleaning a single room or a piece of machinery is a much faster job than remediating an entire factory floor or a sprawling outdoor yard.
- Materials Involved: This is a big one. Non-porous surfaces like stainless steel are relatively straightforward. But porous materials—think unsealed concrete, wood, or soil—are a different beast. They soak up contaminants, demanding more complex and time-consuming techniques to draw them out.
A thorough initial assessment and a well-developed Remediation Action Plan (RAP) are where we build a realistic timeline. This planning phase is critical for making sure we’ve accounted for all the variables before a single tool is picked up.
Can My Staff Handle Decontamination to Save Costs?
I understand the temptation to use your in-house team to clean up. It seems like an easy way to cut down on expenses. However, this is one area where trying to save money can backfire, spectacularly. For many regulated contaminants, it’s not just a bad idea—it’s illegal.
Professional site decontamination is a highly specialised field. It demands a deep knowledge of chemical hazards, microbiology, and the kind of strict safety protocols that your general maintenance staff simply won’t have.
Trying to handle a cleanup in-house often makes things much, much worse. Untrained staff can easily spread contaminants to clean areas, create dangerous chemical reactions with the wrong cleaning agents, or expose themselves and others to serious health risks. The liability you open yourself up to far outweighs any potential savings.
Professionals also come with certified equipment that you just won’t find in a standard maintenance closet. We’re talking about:
- HEPA-filtered vacuums designed to capture hazardous particles invisible to the naked eye.
- Negative air machines to create contained work zones and stop cross-contamination in its tracks.
- Specialised Personal Protective Equipment (PPE) rated for the specific chemical or biological hazards we’re dealing with.
Bottom line? Skipping the licensed professionals can lead to serious breaches of health and safety regulations, resulting in hefty fines and legal trouble.
What If a Site Fails Post-Remediation Verification?
This is a valid concern. A crucial part of any professional job is the final verification. So what happens if, after all that work, the independent hygienist’s tests come back showing the site still isn’t clean?
While it’s not the outcome anyone wants, it’s a possibility that a professional RAP always plans for. If Post-Remediation Verification (PRV) sampling shows contaminant levels are still above the safe limit, it just means the job isn’t finished yet. The team simply has to go back in.
Here’s the methodical approach for a failed PRV test:
- Reassessment: The team analyses the lab results to understand precisely which areas failed and why. Was the surface material more absorbent than expected? Do we need a more aggressive technique?
- Re-application of Methods: The remediation crew gets back to work, re-applying the decontamination techniques from the RAP with a laser focus on the problem spots.
- Further Re-testing: After the additional cleaning, the independent hygienist is brought back to take another round of samples from the areas that previously failed.
This clean-and-test cycle continues until the hygienist can give the official all-clear. Any reputable firm will stand by their work and see the project through to a successful verification, no matter what it takes.
Understanding the Costs of Professional Remediation
Just like the timeline, the cost of professional site decontamination isn’t a fixed number. The final invoice is a direct reflection of the project’s complexity and scale.
The main cost drivers you’ll see are:
- Labour: The number of certified technicians on the job and how long they’re needed.
- Equipment: The use of specialised machinery for containment, cleaning, and air filtration.
- Consumables: The cost of the specific decontamination agents and all the disposable PPE.
- Waste Disposal: This can be a significant cost. Transporting and disposing of hazardous materials at a licensed facility is expensive but non-negotiable.
- Third-Party Verification: The fees for the independent hygienist to conduct both the initial assessment and all post-remediation testing.
While the upfront cost might seem high, it’s an investment in safety, compliance, and genuine peace of mind. Trust me, the cost of getting it wrong—through fines, lawsuits, and chronic health issues—is always infinitely higher.
At Anitech, we provide expert occupational hygiene services to ensure your workplace is safe and compliant. Our scientific approach to site assessment and remediation helps you navigate complex contamination issues with confidence. For a definitive methodology that protects your team and your business, contact us today.


