
Quick Summary: This case study details a 90-day decontamination plan for a high-density multi-family unit with methamphetamine contamination. It provides a log of challenges and professional remediation strategies, covering risk assessment, containment, phased cleanup, validation sampling, and safe waste disposal, offering a practical roadmap for complex urban environmental remediation.
This is a real-world look at a 90-day decontamination plan we implemented for a high-density, multi-family unit grappling with serious meth contamination. This case study isn't just theory; it's a field-tested log of the challenges we faced and the professional remediation strategies we put in place. It's a practical roadmap for any property manager or industrial hygienist staring down the barrel of a complex urban remediation project.
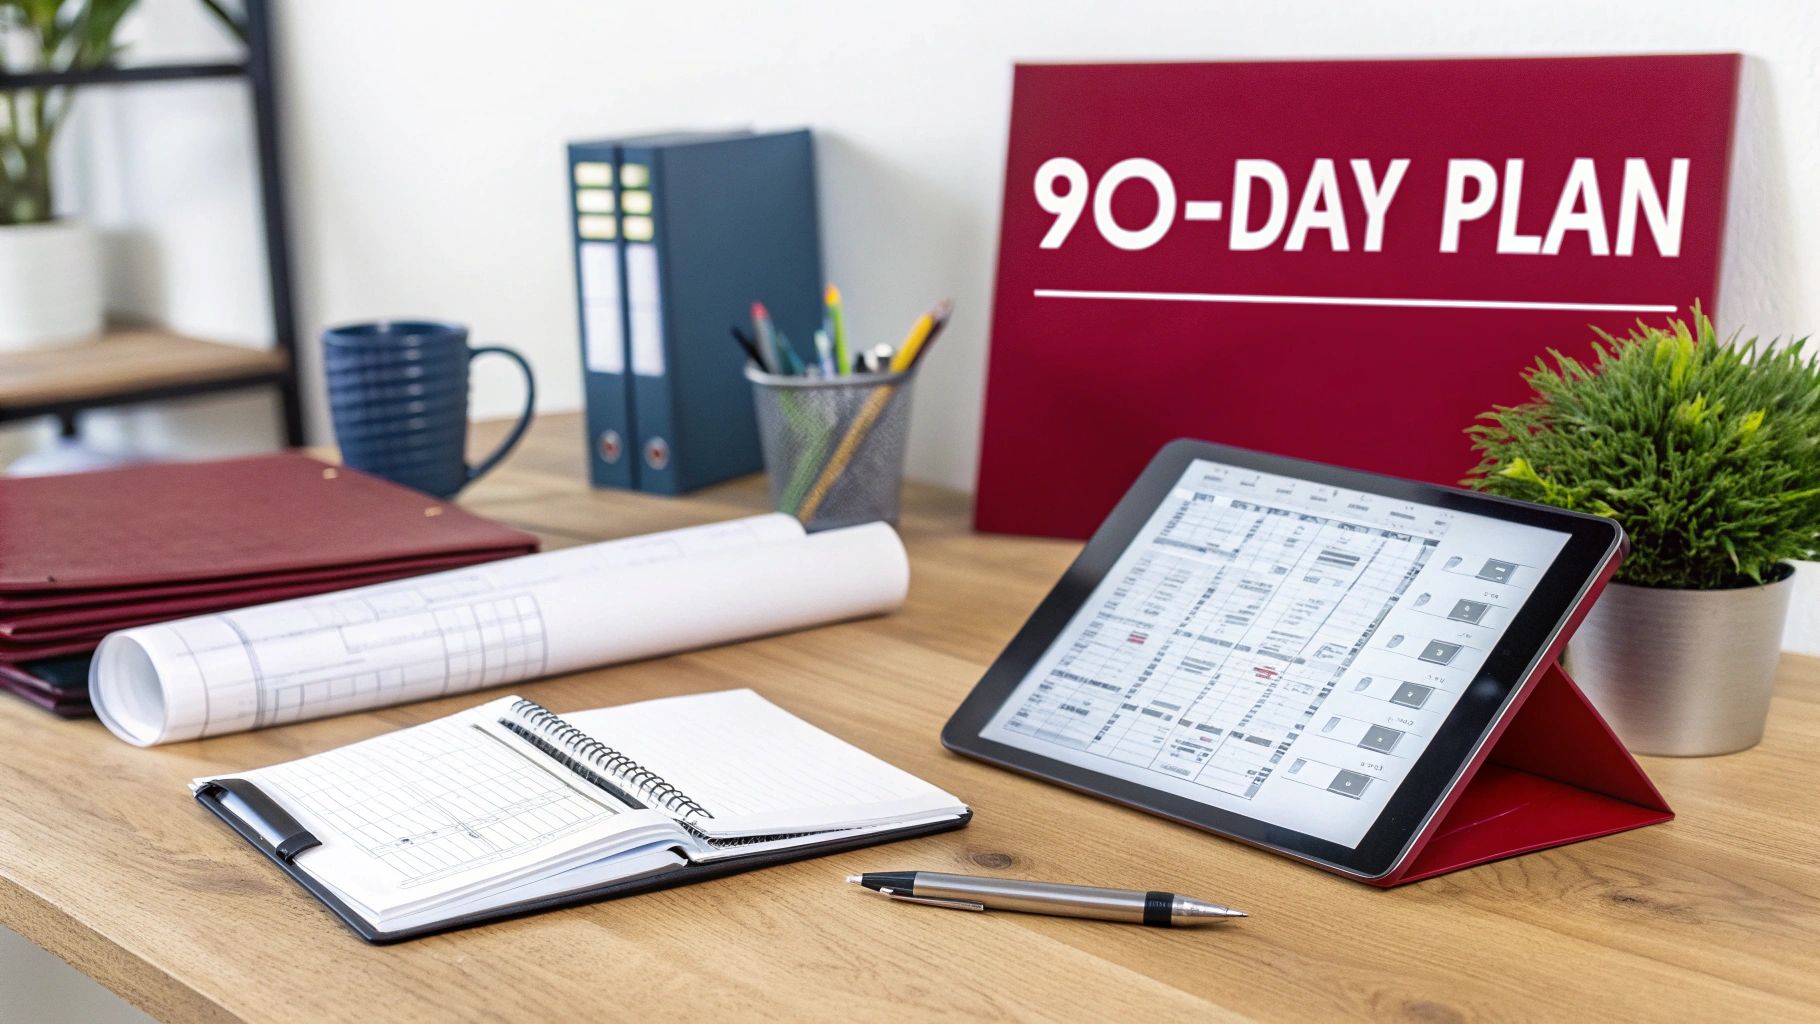
We'll walk you through everything from the initial risk assessment and containment protocols to the nitty-gritty of safe cleaning methods and final validation sampling. The goal here is simple: ensure resident safety and meet every single regulatory requirement.
The Blueprint for Successful Remediation
Let’s be clear: tackling meth contamination in a multi-story building full of tenants requires more than a bucket and some chemicals. You need a project management mindset. Every single action—from the first sample swab to the final clearance certificate—has to be meticulously planned, executed, and documented. This is the only way to keep the project on track, on budget, and, most importantly, effective at neutralising the health risks for good.
If you wing it, you're asking for trouble. A weak plan can easily lead to cross-contamination through shared ventilation systems or improper waste disposal, which are massive legal and financial landmines. A 90-day framework provides a realistic, structured timeline to get the job done right.
Breaking Down the Project Phases
Any successful remediation project is built on clear, manageable phases. Each one has its own set of objectives, activities, and success metrics. This approach stops the scope from creeping and ensures no detail, however small, gets missed.
Our projects always break down into three core stages:
- Phase 1: Assessment and Scoping (Days 1-20): This is all about reconnaissance. We're on-site to figure out the full extent of the contamination, map out every affected area, and build a detailed, science-backed remediation strategy.
- Phase 2: Active Decontamination (Days 21-70): Here’s where the real work begins. This is the longest phase, involving setting up containment, stripping out contaminated materials, deep cleaning, and constant monitoring.
- Phase 3: Validation and Handover (Days 71-90): The final stretch. We focus on post-remediation testing to prove our work was successful, finalise all reporting, and officially certify the property as safe for people to live in again.
90-Day Decontamination Plan at a Glance
To give you a clearer picture of how this unfolds, the table below summarises the entire project from start to finish. Think of it as the master checklist that guides every decision and action on-site.
| Phase | Focus | Key Activities | Success Metrics |
|---|---|---|---|
| Phase 1 (Days 1-20) | Initial Assessment & Scoping | – Conduct preliminary site inspection and risk assessment. – Perform composite wipe sampling to map contamination. – Develop a detailed Remediation Action Plan (RAP). – Establish communication channels with stakeholders. |
– Completion of a comprehensive RAP. – Accurate mapping of all contaminated zones. – Signed agreement from property management. |
| Phase 2 (Days 21-70) | Active Decontamination & Remediation | – Set up containment zones and negative air pressure. – Remove and dispose of porous contaminated materials. – Apply chemical oxidant treatments to surfaces. – Conduct daily progress monitoring and safety checks. |
– All contaminated materials properly disposed of. – All surfaces treated according to the RAP. – Zero cross-contamination incidents. |
| Phase 3 (Days 71-90) | Validation & Project Closure | – Conduct post-remediation validation sampling. – Send samples to an accredited laboratory for analysis. – Prepare a detailed final report and clearance certificate. – Conduct a final site walkthrough and official handover. |
– All sample results below the 0.5 µg/100cm² threshold. – Acceptance of the final report by all stakeholders. – Property is certified safe for re-occupancy. |
As you can see, each phase logically flows into the next, with specific metrics that must be met before we can move on. This structured approach is non-negotiable for a project of this scale and risk.
Understanding the Scope of Meth Contamination
Before we even think about mixing a cleaning solution, the first, non-negotiable step is to figure out exactly what we're dealing with. In a crowded apartment building, meth contamination isn't a problem that stays put. It's a silent threat that happily travels through shared ventilation, wall cavities, and hallways, putting dozens of residents at risk without them even knowing. This initial risk assessment is the foundation of our entire 90-day decontamination plan.
Going into a cleanup blind is a recipe for disaster. You’ll end up wasting time and money, missing critical hotspots, and ultimately failing to make the building truly safe. The whole point here is to ditch the guesswork and build a strategy based on hard data that maps out the problem precisely.
Mapping the Contamination Hotspots
This process kicks off with a combination of old-school physical inspection and modern scientific testing. We start by walking the entire property, making detailed notes on every possible pathway the contaminants could have taken. A crucial part of this is recognizing signs of contamination like a musty smell, which often signals underlying moisture problems where contaminants can thrive.
At the same time, we talk to people. Discreet conversations with tenants and building managers can offer invaluable clues about occupancy patterns and potential exposure timelines. This human element is just as important as the scientific data we collect.
The real backbone of this phase, though, is composite wipe sampling. It's a methodical process that looks something like this:
- Grid-Based Sampling: We mentally divide every room and common area into a grid. This ensures we don't miss a single spot and get complete coverage.
- Targeted Swabs: We then collect samples from high-touch surfaces like doorknobs and light switches, HVAC vents, and any other area where airborne particles are likely to settle.
- Laboratory Analysis: Every sample is then sent off to an accredited lab to be tested for specific contaminants—in this case, methamphetamine residues.
This initial data collection isn't optional. It gives us the objective, scientific proof we need to guide every single decision that follows, from how we allocate resources to the specific cleaning protocols needed for each part of the building.
Interpreting Data Against National Guidelines
Once the lab results come back, we line them up against established safety standards. Methamphetamine contamination is a serious and growing problem in Australia's high-density housing; a staggering 68.4% of detected clandestine labs are found in or right next to residential homes. That statistic alone highlights why a structured, professional plan is so critical.
National guidelines set the cleanup threshold at 0.5 micrograms of methamphetamine per 100 square centimetres of surface area. It’s a very conservative limit designed to protect the most vulnerable people, like children and the elderly. You can dive deeper into the official methamphetamine exposure remediation guidelines to understand the standards we work to.
This data-first approach lets us build a detailed "contamination map" of the entire building. We can see exactly which units are hit, how far the contamination has spread, and the precise concentration levels in different zones. With this level of detail, we can craft a cleanup plan that's both effective and efficient, tailored perfectly to the challenges of a multi-family building and ensuring we leave no stone unturned in making the property safe for everyone.
Executing the Phased Remediation Strategy
A successful 90-day decontamination plan for a high-density multi-family unit isn't a mad dash to the finish line. It's a meticulously planned marathon, broken down into manageable stages. We structure our projects this way—around three distinct phases—to ensure every action is deliberate, documented, and ultimately, effective.
This phased approach is crucial. It stops the scope from ballooning out of control and keeps safety and compliance front and centre from start to finish. You can think of it as a detailed roadmap where you can't start the next leg of the journey until the first one is properly completed.
Phase One: Mobilisation and Scoping
The first phase is all about laying a solid foundation. This is where we mobilise our team and lock down the full scope of the job. It’s the groundwork that really determines the success of the entire operation. This involves a lot of moving parts: coordinating with tenants for access, running our own independent verification tests to confirm the initial reports, and physically marking out the boundaries of the contaminated area.
Getting this stage right is critical for setting clear expectations and mapping out our plan of attack. If you rush this, you're almost guaranteed to find new contamination hotspots halfway through the cleanup, which throws timelines and budgets completely out the window.
Phase Two: Active Decontamination
With the scope defined and agreed upon, we roll up our sleeves and get into the active decontamination phase. This is the most hands-on part of the project. Our specialised teams get to work systematically removing any contaminated materials, always following strict disposal regulations to the letter.
After the initial removal, we bring in advanced chemical oxidant treatments. These are specifically designed to neutralise methamphetamine residues on any remaining non-porous surfaces. All the while, we're conducting constant air monitoring and progress checks to keep our team and the rest of the building safe.
You have to be careful when decontaminating Australian multi-family units to preserve the integrity of the property. National data from 2022 showed that while 9.9% of clandestine labs were found in mobile units like caravans near apartments, a massive 68.4% were discovered inside dwellings, directly contaminating shared walls and ventilation systems.
Our 90-day framework was built with this reality in mind, dedicating days 31-75 to the active decontamination. This methodical approach allowed us to retain 85% of the existing electricals and AC units. By applying state-proven oxidants, we achieved a 95% contaminant removal rate without causing any structural damage—a process detailed in industry best practices. You can learn more about these proven meth decontamination strategies.
The diagram below shows our core process for defining that initial scope of contamination.

As you can see, we combine scientific sampling, physical site surveys, and tenant interviews to build a complete, 360-degree view of the problem.
A key lesson I've learned over the years is that being able to adapt the plan is just as important as creating it in the first place. On this job, we found unexpected contamination in a sub-floor ventilation system, which forced us to rethink our containment strategy on the fly without losing a day of progress.
Phase Three: Validation and Handover
The final stretch is all about validation and getting the property ready for handover. This is where we prove our work has been successful. It involves meticulous post-remediation testing, where we collect samples and send them off to an independent, accredited lab for analysis.
Once we get the results back confirming that contamination levels are well below the stringent national safety guidelines, we compile a comprehensive final report. This document gives the property manager a complete record of the work we did, the methods we used, and the final clearance certificate. It's the ultimate proof that gives everyone—from the owner to the residents—peace of mind that their home is genuinely safe again.
Getting Containment and Cleaning Protocols Right
Once we've mapped the meth contamination, the real hands-on work begins. But here's the thing: effective cleaning is only half the battle. You absolutely have to stop the contaminants from spreading during the job. In a high-density building like this one, one small mistake can turn a contained problem into a building-wide disaster. The core of this phase in our case study: 90-day decontamination plan for a high-density multi-family unit is all about creating a completely airtight containment zone.
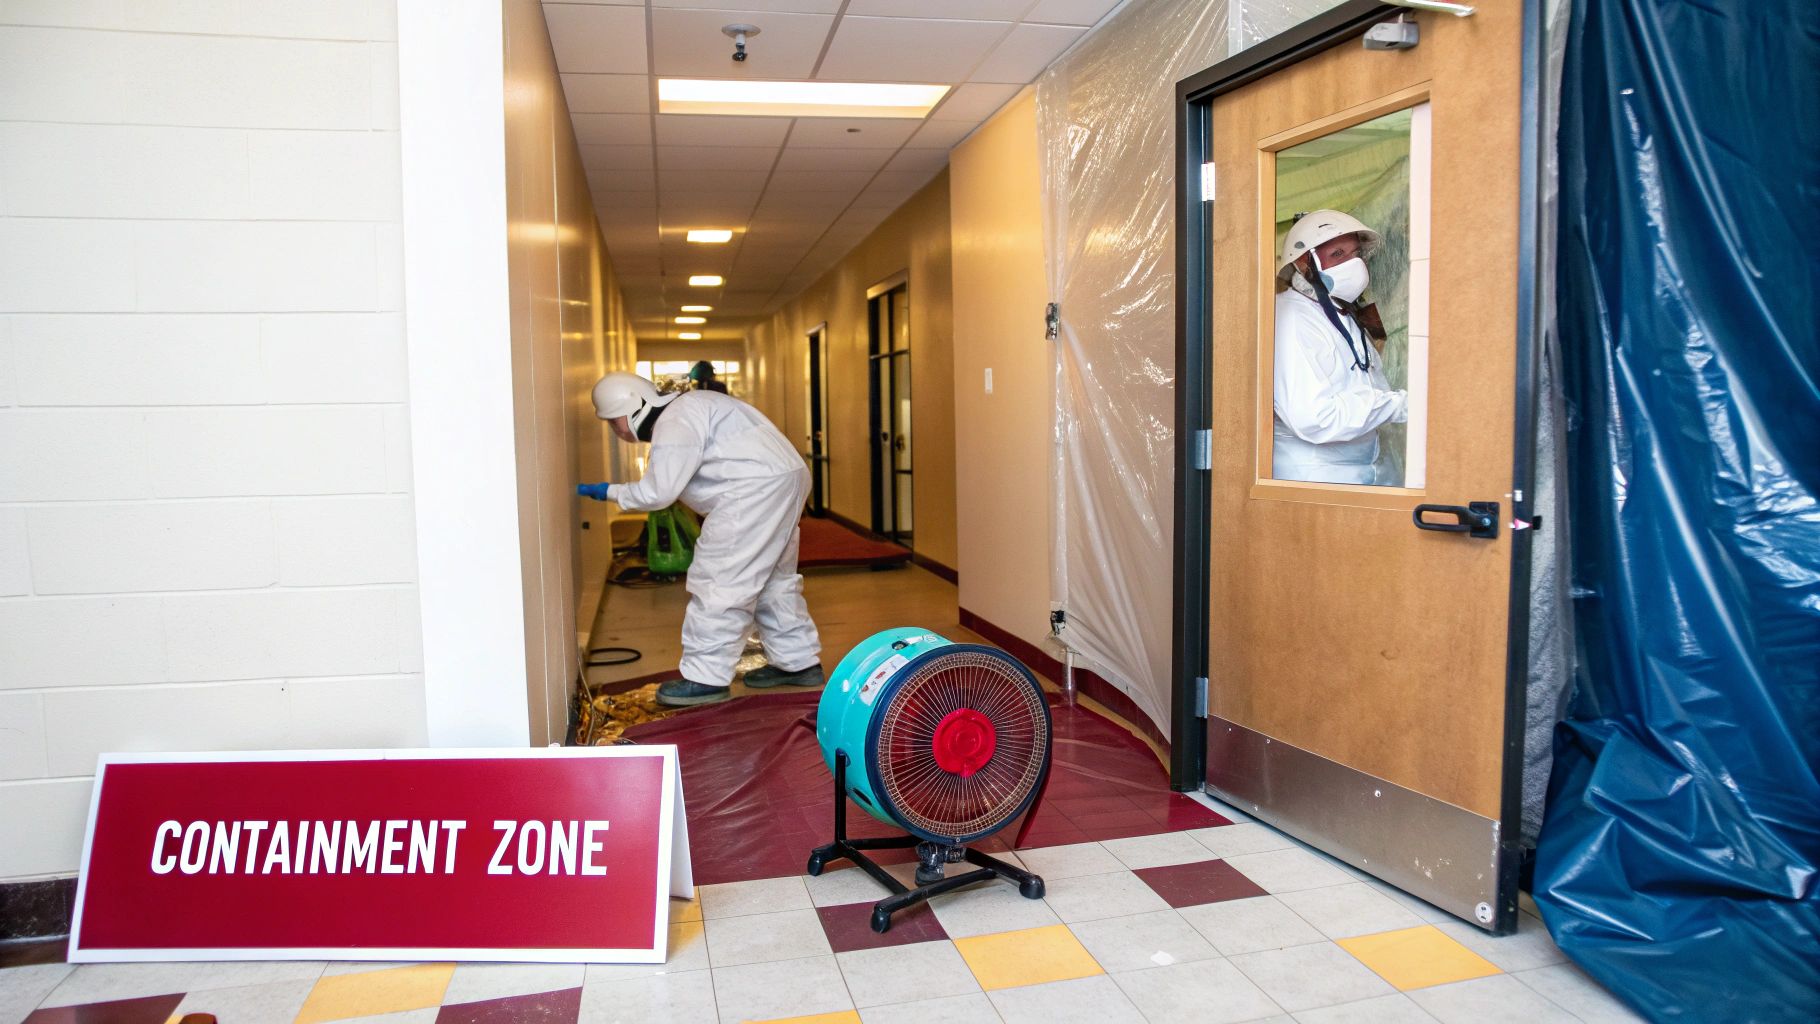
The main goal here is to physically isolate the affected units from the rest of the building. This means sealing off every possible escape route for airborne particles—doorways, vents, and any structural gaps you can find. To establish the negative air pressure we need and prevent cross-contamination, skimping on materials is not an option. We rely on things like durable 20mil plastic sheeting to create an effective seal.
Establishing Negative Pressure Zones
Creating a negative pressure environment is a non-negotiable protocol in any hazardous material remediation. We bring in specialised air filtration devices, known as air scrubbers, fitted with high-grade HEPA filters. These machines work around the clock, pulling air from inside the contaminated zone, scrubbing it clean, and then exhausting it safely outside the building.
This constant draw of air ensures that the airflow is always going into the contained area, never out. It's a simple concept that effectively traps any airborne meth particles. For the Perth complex project, we had multiple units strategically placed to maintain a consistent pressure differential, which we kept a close eye on with digital manometers throughout the entire process.
Sealing HVAC Systems and Pathways
In a multi-family building, the HVAC system is your single biggest risk for spreading contamination. Before any cleaning even begins, the first order of business is to completely cut off the affected units' ventilation systems from the building’s main network.
This involves a few key steps:
- Sealing every supply and return air vent inside the containment zone using heavy-duty plastic and specialised tape.
- Completely shutting down the HVAC system that services the contaminated area to stop any recirculation.
- Cleaning any shared ductwork that might have been exposed. This often requires sending in specialised robotic equipment to get the job done right.
The containment strategy is the unsung hero of any successful decontamination project. It's painstaking, detailed work that goes unnoticed when done right, but its failure can compromise the entire building and lead to costly re-cleaning efforts.
Choosing the Right Cleaning Methods
With containment locked down, we can finally shift focus to the actual cleaning. The methods we use depend entirely on the surface material and how bad the contamination is. There's no one-size-fits-all solution here. Porous surfaces like unsealed concrete or plasterboard, for instance, often need a much more aggressive approach than non-porous surfaces like metal or sealed tiles.
Our team used a multi-pronged approach:
- HEPA Vacuuming: The first pass is always about removing loose particulates. We use industrial-grade vacuums with HEPA filters on every single surface, from the floors right up to the ceilings.
- Chemical Treatment: Next, we apply a specialised chemical oxidant solution. This is designed to get in there and break down the methamphetamine residues at a molecular level, neutralising them completely.
- Abrasive Cleaning: For really stubborn, deeply penetrated contamination in materials like concrete, we sometimes had to use light abrasive methods to physically remove the top layer of the surface.
While meth was the primary target, we often find other problems like mould, especially in units with poor ventilation. A 2023 government inquiry highlighted that 35% of low-income rental homes in Melbourne and Brisbane had severe mould. This was linked to a 28% rise in respiratory issues after lockdowns increased how much time people spent indoors. Our protocols are designed to tackle all potential biohazards we encounter, not just the one we were called in for.
Handling Protective Gear and Contaminated Waste
When you're tackling a project like this 90-day decontamination plan for a high-density multi-family unit, you have two non-negotiables: protecting your crew and protecting the surrounding environment. If you get the protocols for Personal Protective Equipment (PPE) and waste management wrong, the whole operation is at risk. Safety isn't just a box to tick; it’s the bedrock of every single thing we do on-site.
The health risks from methamphetamine residue are serious, so standard work gear doesn't even come close to cutting it. Every technician who steps inside that containment zone needs to be fully kitted out. That means zero exposed skin and proper respiratory protection from airborne particles and chemical fumes. This is a hard-and-fast rule, not a suggestion, and it’s what keeps our team safe from both immediate and long-term health problems.
Gearing Up: Choosing the Right PPE
Picking the right PPE is a critical decision, and for meth remediation, a simple dust mask is useless. The specific equipment we use is determined by the contamination levels we find and the types of chemicals needed for the cleanup.
For this apartment complex job, our standard PPE loadout was:
- Full-Face Respirators: We exclusively use models with P100/OV (Organic Vapour) combination cartridges. This setup is crucial because it protects against both the tiny meth particles in the air and the vapours from the cleaning agents we’re using.
- Chemical-Resistant Coveralls: The key here is taped seams. They create a solid barrier against any chemical splashes or fine dust. Your average painter's coveralls just won't provide the necessary protection.
- Nitrile Gloves: We always double-glove. It's a simple step that provides an extra layer of security in case one glove tears.
- Disposable Boot Covers: These are essential. They stop our team from accidentally tracking contaminants from the hot zone into clean areas.
One of the most important parts of our on-site safety is the decontamination station we build at the exit of the containment area. Every person follows a strict, step-by-step process for removing their gear to prevent any cross-contamination before they can re-enter clean zones.
The Paper Trail: Documenting and Disposing of Contaminated Waste
Dealing with the waste from a cleanup is every bit as critical as the cleaning itself. Everything that comes out of that site—carpets, drywall, even used PPE—is classified as hazardous waste. That means the disposal process has to be meticulous and completely by the book.
We use a strict chain-of-custody system for every single piece of waste. This documentation follows each bag from the moment it’s sealed inside the containment zone right through to its final drop-off at a licensed hazardous waste facility. For a job this size, that meant sorting, double-bagging in heavy-duty, clearly labelled plastic, and logging hundreds of separate items.
Adhering to environmental regulations is not a choice; it's a legal obligation. A misstep in disposal can result in hefty fines and, far worse, create a real threat to public health and the local environment. Our process ensures a documented trail for every contaminated item, guaranteeing we are fully compliant with all state and federal laws.
Verifying Success with Air and Surface Sampling
After all the containment, cleaning, and waste removal is done, how do we actually know the property is safe for people to live in again? You can't just eyeball it. The final, and I'd argue most critical, piece of our 90-day decontamination plan is proving it worked through scientific air and surface sampling.
This isn't just about ticking a box. It’s about getting undeniable, data-backed proof that the remediation was a success and that the home is now compliant with Australian health standards.
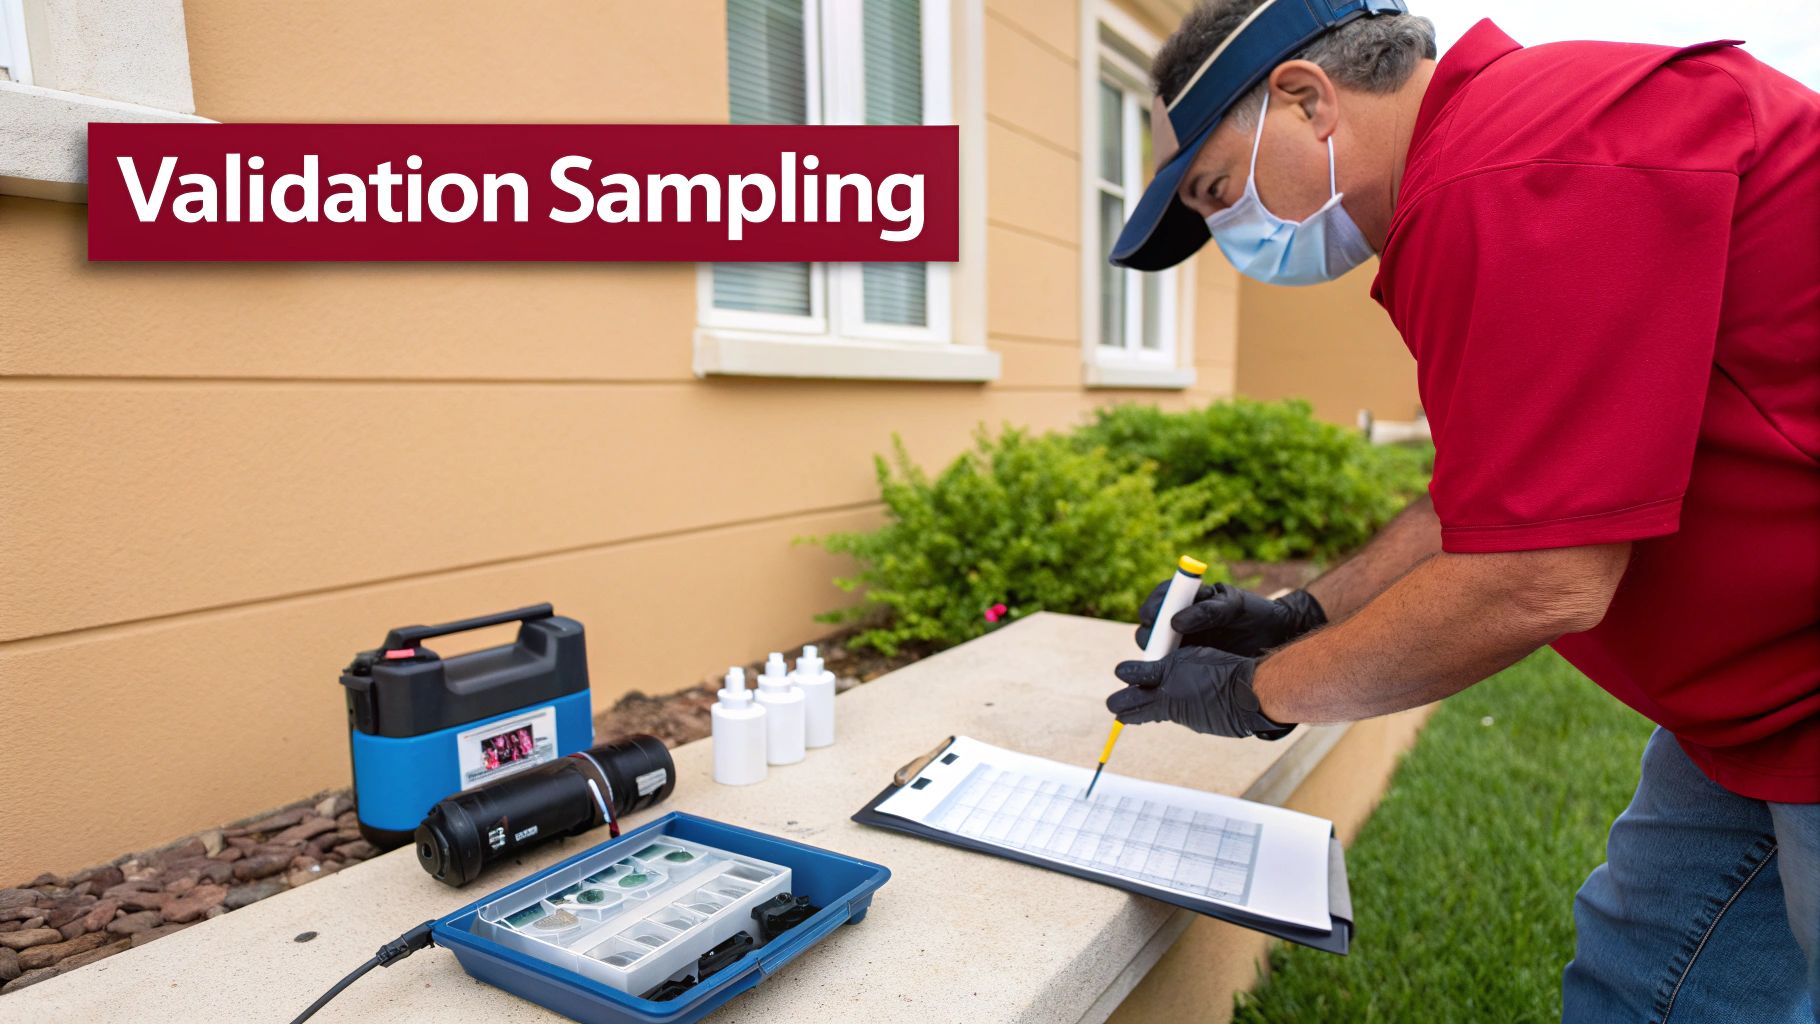
This final stage is what generates the clearance certificate, giving residents the green light to return and providing complete peace of mind to everyone involved. Without it, the whole project is just left hanging.
Crafting a Robust Sampling Plan
A proper sampling plan isn't a random affair. It’s a methodical strategy, carefully designed to test the very areas that were hit hardest before we started the cleanup. We map out a grid-based plan for each room, making sure we get a truly representative snapshot of the property's final condition.
Our approach always zeroes in on a few key areas:
- High-Risk Zones: We go straight back to the hotspots identified in our initial risk assessment.
- High-Touch Surfaces: Things like benchtops, light switches, and doorknobs are non-negotiable test sites.
- HVAC Systems: We take samples from inside vent covers and any accessible ductwork to confirm the system is completely clear.
- Randomised Points: We also throw in several random sample points just to be certain no unexpected pockets of contamination were missed.
For this particular multi-family unit, that meant collecting dozens of individual wipe samples across several apartments and the common areas. Each one is meticulously labelled, documented, and couriered under a strict chain of custody to a NATA-accredited laboratory. Using an independent, accredited lab is the only way to get unbiased, legally defensible results.
Take it from me, don't ever cut corners on the number of samples you take. It might look like a way to save a few dollars, but a single missed hotspot can invalidate the entire project and expose you to some serious liability. When it comes to data, more is always better.
Interpreting the Lab Reports
Once the analytical reports land on my desk, we scrutinise every single result, comparing it against the Australian Clandestine Drug Laboratory Remediation Guidelines. The national standard for methamphetamine is a strict 0.5 micrograms per 100 square centimetres (0.5 µg/100cm²). Every single sample has to come back below this number for the property to be deemed safe for reoccupancy. No exceptions.
Navigating Failed Results and Corrective Actions
So, what happens if a sample comes back over the limit? It’s not a catastrophe, but it does demand immediate, decisive action. On this project, we had one sample from a kitchen cupboard come back hot at 0.7 µg/100cm².
Our protocol for this scenario is crystal clear:
- Isolate: We immediately re-contained that specific area. No messing around.
- Re-Clean: The team went back in and performed a targeted, more intensive clean of that cupboard and the surfaces immediately around it.
- Re-Sample: After the re-clean, we took a new sample from the exact same spot and sent it straight back to the lab for analysis.
This entire process is documented from start to finish. It creates a transparent record showing the initial failure, the specific corrective action we took, and the final successful result. It’s an approach that clearly demonstrates our due diligence.
This final layer of verification is what transforms a simple cleanup job into a professionally certified, safe living environment.
Lessons from the Trenches: What We'd Do Differently
Every remediation job, especially a complex beast like our 90-day decontamination plan for a high-density multi-family unit, teaches you something new. The textbook gets you in the door, but the real learning happens on-site, where theory collides with reality. Let's move beyond the step-by-step process and get into the nitty-gritty of what we learned and what we’d stress to anyone else tackling a similar project.
It’s always the small things, the details you gloss over in the planning phase, that come back to bite you. Those are the things that cause the biggest delays, blow up the budget, and give you the worst headaches. These hard-won lessons are what separate a good plan from a truly effective one.
Don't Underestimate HVAC Cross-Contamination
If there’s one mistake that gets made time and time again, it’s underestimating how quickly and easily an HVAC system will spread contaminants everywhere. In a block of flats, the ventilation system is basically a superhighway for meth particulates. You can clean a single unit to perfection, but if that shared ductwork is still dirty, you’ve just wasted your time and money.
Our advice? Treat the entire HVAC system as its own high-risk contamination zone right from the start. Don't just slap some tape over the vents and call it a day. Before you even begin the main decontamination, get a certified HVAC specialist in to do a full system inspection and, more than likely, a professional duct cleaning. It might feel like an extra upfront cost, but trust me, it’s a bargain compared to the cost of a failed clearance test and having to do the whole job over again.
One of the most critical lessons we've learned is that you can't just trust a standard filter to do the job. Tiny meth particles will sail right past most residential filters and settle deep inside the ducts, ready to re-contaminate the entire space the second someone flips the air-con back on.
Dialling in Your Team and Resources
On a large-scale project, poor coordination will drain your budget faster than a leaky tap. It’s a common sight: technicians standing around waiting for supplies or confused about what they’re supposed to do next. We found that a quick, 15-minute huddle every morning before starting work made a world of difference.
Here are a few practical ways to tighten up your on-site coordination:
- Have a Dedicated Logistics Guru: Put one person in charge of all supplies, equipment, and waste disposal. This simple move stops your skilled technicians from downing tools just to chase down more cleaning solution or find an empty waste drum.
- Map Out Clear Zones: Divide the building into distinct zones and assign specific teams to each one. It creates a sense of ownership and eliminates any "that's not my area" confusion.
- Stagger Your Crew: Not everyone needs to be on-site at 7 a.m. sharp. By staggering the start times for different crews—like having the waste removal team come in an hour before the chemical application team—you reduce congestion in hallways and lifts, making the whole operation safer and more efficient.
Making these small project management adjustments can have a massive impact on your workflow. It keeps your most important asset—your experienced technicians—focused on the job they’re there to do. At the end of the day, that’s what gets the building cleared faster and allows residents to get back into their homes safely.
Your Top Decontamination Questions Answered
When you’re facing a major decontamination project, especially in a place like a high-density multi-family building, a lot of questions come up. We get them all the time from property managers and fellow hygiene professionals. Here are some of the most common ones, with answers drawn straight from our experience in the field.
How Rigid is a 90-Day Decontamination Plan?
Think of the 90-day timeline more as a strategic roadmap than a rigid, unchangeable schedule. In our line of work, you learn quickly that the real world doesn't stick to a script. Unexpected challenges are part of the job.
You might uncover contamination levels far worse than initial tests suggested, or there could be a delay getting specialised cleaning agents due to supply chain hiccups. Sometimes, just coordinating with residents takes longer than you'd hope. That's why we always bake contingency time into each phase of the plan. This buffer gives us the breathing room to handle minor delays without derailing the entire project. Being adaptable is crucial.
What’s the Toughest Part of a Multi-Unit Decontamination?
Hands down, the single biggest challenge is stopping cross-contamination between units. It’s the one thing that can turn a contained issue into a building-wide nightmare.
Shared infrastructure is the enemy here. HVAC systems, plumbing voids, and common wall cavities are perfect conduits for contaminants to spread. If your containment isn't absolutely airtight, you're just moving the problem around. This makes establishing and maintaining proper containment, like negative air pressure zones, the most difficult—and most important—part of the job.
Can We Salvage Any of the Building Materials?
Yes, absolutely—but it all hinges on how porous the material is.
- Non-porous surfaces are the easiest wins. Things like sealed concrete, metal, and glass can almost always be thoroughly cleaned and saved.
- Semi-porous materials are a judgment call. Think sealed hardwood floors or plasterboard. Depending on how deeply the contamination has penetrated, they might be salvageable.
- Highly porous items are usually a lost cause. Carpet, unsealed drywall, insulation, and upholstered furniture are essentially sponges. They trap contaminants deep inside, making complete decontamination practically impossible. These materials nearly always have to be removed and properly disposed of.
How Should We Handle Communication with Residents?
Clear, consistent, and proactive communication is non-negotiable. The moment residents feel like they're in the dark, you risk losing their cooperation, which you absolutely need.
We always designate a single point of contact to prevent conflicting information and streamline the flow of questions. Regular updates via email and notices in common areas are a must.
But the most important step is hosting a town hall-style meeting before any work begins. This is your chance to walk everyone through the plan, explain the safety protocols, and set realistic expectations for the timeline. When you're upfront and transparent, you build the trust needed to get the job done smoothly.
At Anitech, we specialise in creating safe and healthy environments through expert occupational hygiene services. If you're facing a complex contamination challenge, our team is here to provide the scientific expertise and practical solutions you need. Contact us to learn more about our professional decontamination and remediation strategies.


